Appearance
Linux上安装Nginx
原创📝 chandler📆 2024-08-27 11:09
下载地址
官网下载地址:https://nginx.org/en/download.html

这里我就不重新下载了
包名:nginx-1.24.0.tar.gz
开始安装
| 名称 | 说明 |
|---|---|
| 系统 | Linux |
| 解压源文件位置 | /home/component/nginx-1.24.0 |
| 安装位置 | /home/component/nginx |
| 版本 | 1.24.0 |
上传包至要安装的目录
安装位置可以自定义,本文放在 /home/component 目录下

安装Nginx相关依赖
使用yum命令安装nginx所需要的依赖包
shell
# 安装nginx所需要的依赖包
yum -y install gcc gcc-c++ pcre pcre-devel zlib zlib-devel openssl openssl-devel
解压安装包
找到刚刚上传到 /home/component 目录下的 nginx-1.24.0.tar.gz安装包
进行解压
shell
# 进入安装包上传目录
cd /home/component

# 解压安装包
tar -zxvf nginx-1.24.0.tar.gz
初始化Nginx
在解压后的源文件目录下(nginx-1.24.0),执行配置脚本
--prefix是指定安装目录
其中 --prefix=/home/component/nginx 位置可以改为自己想安装的目录,很多教程默认为 --prefix=/usr/local/nginx
我个人喜欢组件都安装在一个目录,所以我改为了自定义的目录
切记:--prefix=(自己指定的目录)不能和解压的源文件目录为同一个目录
考虑到后续安装ssl证书 添加两个模块
--with-http_stub_status_module:用来监控 Nginx 的当前状态
--with-http_ssl_module:使用https协议模块。默认情况下,该模块没有被构建。前提是openssl与openssl-devel已安装
shell
# 进入解压后的源文件目录
cd /home/component/nginx-1.24.0

# 初始化配置
./configure --prefix=/home/component/nginx --with-http_stub_status_module --with-http_ssl_module
编译安装
shell
# 进入解压后的源文件目录
cd /home/component/nginx-1.24.0

# 编译
make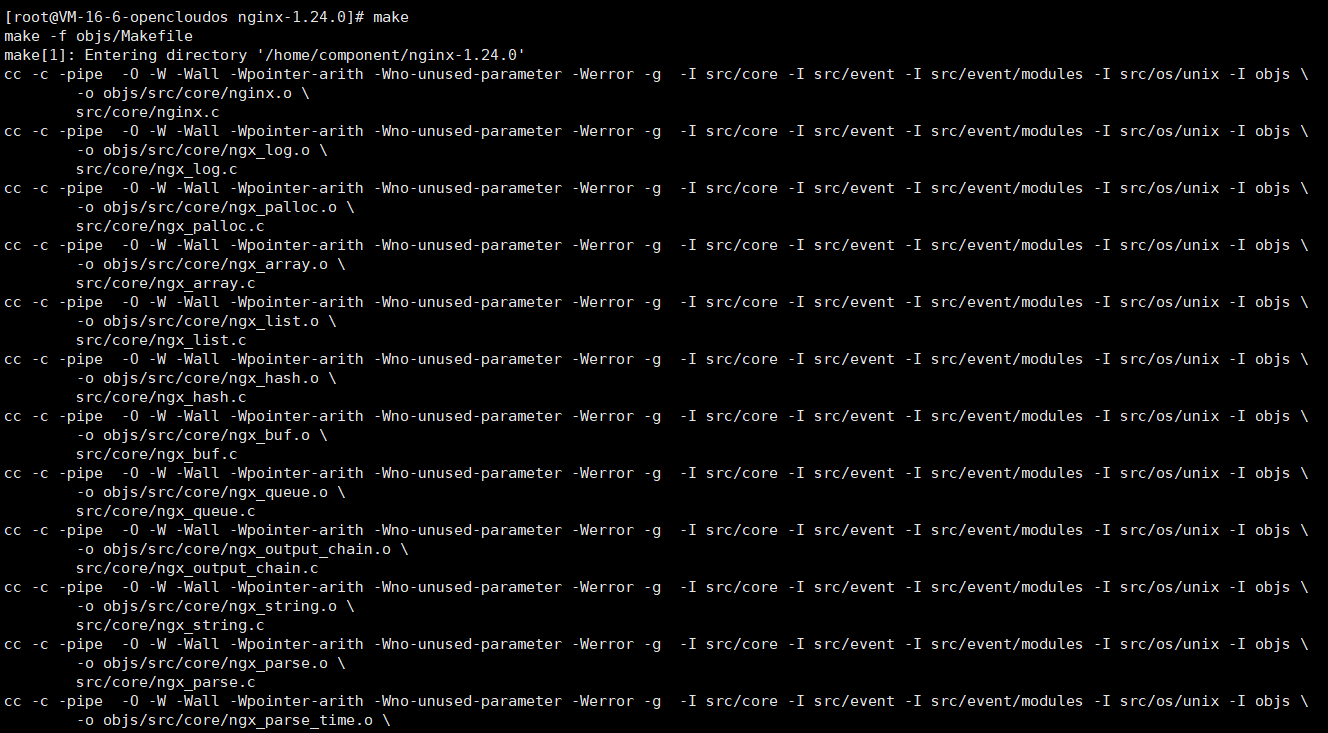
继续在此目录,继续执行
shell
# 安装
make install
执行完成之后目录如下
text
/home/component/nginx  安装目录(后续执行启动脚本命令及配置文件都是用这个目录的)

/home/component/nginx-1.24.0  源文件目录
检查配置文件
shell
./nginx -c /home/component/nginx/conf/nginx.conf启动
由于我们自定义了安装目录,所以启动时候指定我们的配置文件位置
shell
# 进入到安装目录
cd /home/component/nginx/sbin

# 指定配置文件启动
./nginx -c  /home/component/nginx/conf/nginx.conf
验证
命令查看运行状态
shell
ps -ef | grep nginx
访问 服务器IP:80 查看能否看到nginx页面

看到这个界面说明启动成功
如果访问不了,请检查自己的防火墙的80端口是否开放,如果是云服务直接在安全组里面配上80就可以
配置文件
文件名: nginx.conf
注意:修改此文件之前记得先备份
我用的是 /home/component/nginx/conf/nginx.conf 文件,看你启动的时候指定哪个配置你就修改哪个
配置多配置文件
首先在 /home/component/nginx/conf/nginx.conf 文件的同级目录创建 conf.d 文件夹
shell
mkdir conf.d赋予conf.d权限
shell
chmod 777 conf.d在 /home/component/nginx/conf/nginx.conf 文件中,引用conf.d文件
shell
http {
    include       mime.types;
    default_type  application/octet-stream;

    #gzip  on;

    #这句就是引用-导入其他路径的配置文件
    include conf.d/*.conf;
}
或者
shell
http {
    include       mime.types;
    default_type  application/octet-stream;

    #gzip  on;

    #这句就是引用-导入其他路径的配置文件
    include /home/component/nginx/conf/conf.d/*.conf;
}
开始在 conf.d 文件夹下创建 .conf 文件进行各子应用的配置
shell
server {
    listen 80;
    server_name www.ncqmw.cn ncqmw.cn;
    location / {
        # 项目部署目录
        root   /home/project/web/neon/dist;
        index  index.html index.htm;
        try_files $uri $uri/ /index.html;
    }

    location /api/ {
        proxy_pass http://47.116.25.252:9001/api/;
        proxy_set_header Host $host;
        proxy_set_header X-Real-IP $remote_addr;
        proxy_set_header X-Forwarded-For $proxy_add_x_forwarded_for;
        proxy_set_header X-Forwarded-Mac $http_x_real_mac;
    }
}
常用命令
操作请先进入 /home/component/nginx/sbin 目录下执行
启动
shell
./nginx -c /home/component/nginx/conf/nginx.conf停止
shell
./nginx -s stop重载
shell
./nginx -s reload杀掉nginx
shell
./nginx -s quit常见报错
1.如果遇到报错“./configure: error: C compiler cc is not found”
如下图

解决:
shell
yum -y install gcc gcc-c++ autoconf automake make然后在次执行编译安装即可